Basic User - Contacts
5 Contacts
The Contacts center icon as seen in figure 5 is where all users with “List in Directory” enabled under their profile as seen in back in figure 2.2 are listed. If you do not see a user listed in the contacts that is because “List in Directory” has been disabled.
5.1 Add Contact
The Add Contact button in the righthand corner as seen in figure 5.1 will open the new contact window as seen in 5.1.a and allow you to enter a new contact that will be displayed in your account’s contacts.
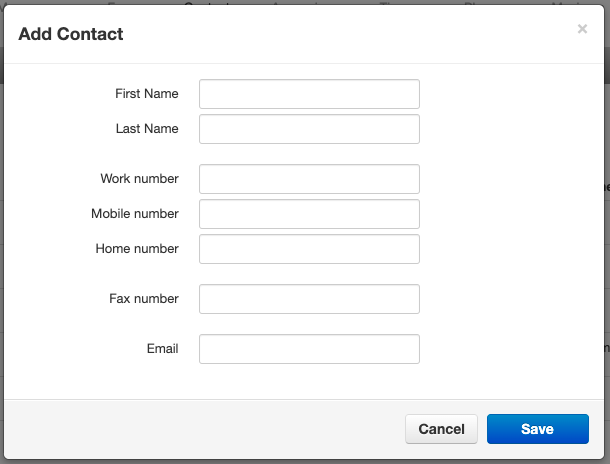 Figure 5.1.a
5.2 Import
The import option allows you to import contacts from a csv file (Outlook, Google, and Apple vCard) that will bulk create users in your contacts.
5.3 Export
The Export button will allow you to create a csv file for the contacts group select in the Contacts to export drop down. The Export format will export the csv file into an Outlook, Google, or Apple vCard csv file format.
5.4 Groups
On the Contacts page, you will see a drop down as seen in figure 5.1 that will let you filter for:
5.4.1 All Users
Displays all users on the system with List in Directory enabled.
5.4.2 Your Favorites
Displays contacts you selected as favorites. Which you can add to by clicking the star next to the contacts name as seen in figure 5.1.2.
5.4.3 Shared
Shared contacts are contacts available to the entire organization added by Office Managers.
5.4.4 My Contacts
Contacts you have manually added by clicking the Add Contact button in the top right.
5.4.5 Coworkers
Displays all contacts in organization with List in Directory enabled.
5.4.6 Departments
Which break users down by the Department entered on their user profile.
5.4.7 Available Users
Displays contacts that are available to be called or chat via the portal.
5.4.8 Busy Users
Are users currently on the phone or has their status set to Do Not Disturb.
5.4.9 Offline Users
Users who do not have a registered device and not logged into the portal available to chat.
When selecting a contacts group option, the contacts for that group will appear as seen in figure 5.4.9. You can sort them by Name, Status, Department and Email.
5.5 Contacts Status Icon
5.5.1 Green
Contacts displayed with a green dot are available.
5.5.2 Blue
Contacts displayed with a smaller blue dot in front of the green means that person is available to chat in the portal.
5.5.3 Red
If the contact has a red circle that means the user is currently busy.
You can chat with the user by clicking the chat icon to the right as seen in figure
5.2. Next to the chat icon you will see the Edit contact icon as seen in figure
5.6 Chat with contact
Clicking the chat icon seen in figure 5.6 will open a chat window with that user.
5.7 Edit
The Edit icon to the right of the contact will open the Edit Contact window as seen in figure 5.4 where you can configure the contact with a different:
· First Name
· Last Name
· You cannot change the extension number
· Work number
· Mobile Number
· Home Number
· Fax number
· Email address
Related Articles
Basic User Messages - Chat
4.2 Chat tab 4.2.1 Chat and SMS tab On the Chat tab you can see all your Chat conversations as seen in figure 4.2. The message is displayed with the contacts name. The last message received or sent. Figure 4.2.1 4.2.2 Start new conversation To start ...Basic User - Call History
10 Call History The Call History icon as seen in figure 10 will take you to the Call History page. Where you will see the calls made to and from your account for the specific date range as seen in figure 10.a. Figure 10.a 10.1 Call History Filters ...Basic User Messages - Settings
4.3 Settings tab The settings tab as seen in figure 4.3. is where you can make changes to how your account handles voicemail and is represented in the company audible directory and in the Contacts of the organization. Figure 4.3 4.3.1 Enable ...Basic User - Voicemail Setup
Voicemail Setup: Please make sure to download and save any current voicemails in your existing system before setting up your new voicemail. Your current saved voicemails will NOT be saved once you switch over. 1. Once you are logged into your ...Basic User - Answering Rules
6 Answering Rules The Answering Rules icon as seen in figure 6 will take you to your answering rules center. Answering Rules are how you control what devices ring, how long those devices ring for when receiving a call. It is also where you can ...